I just finished taking my accounting test that I was talking about yesterday and unfortunately, I don't feel too good about it. It was super, super hard, extremely difficult, I will find out the results on thursday : / I'm scared, I don't really want to know what I got. But, on a positive note, there is one thing that I do feel good about, well actually, wwwwwaaaaayyyyyy better then good, and that is this Peanut Butter-Fudge Cheesecake from
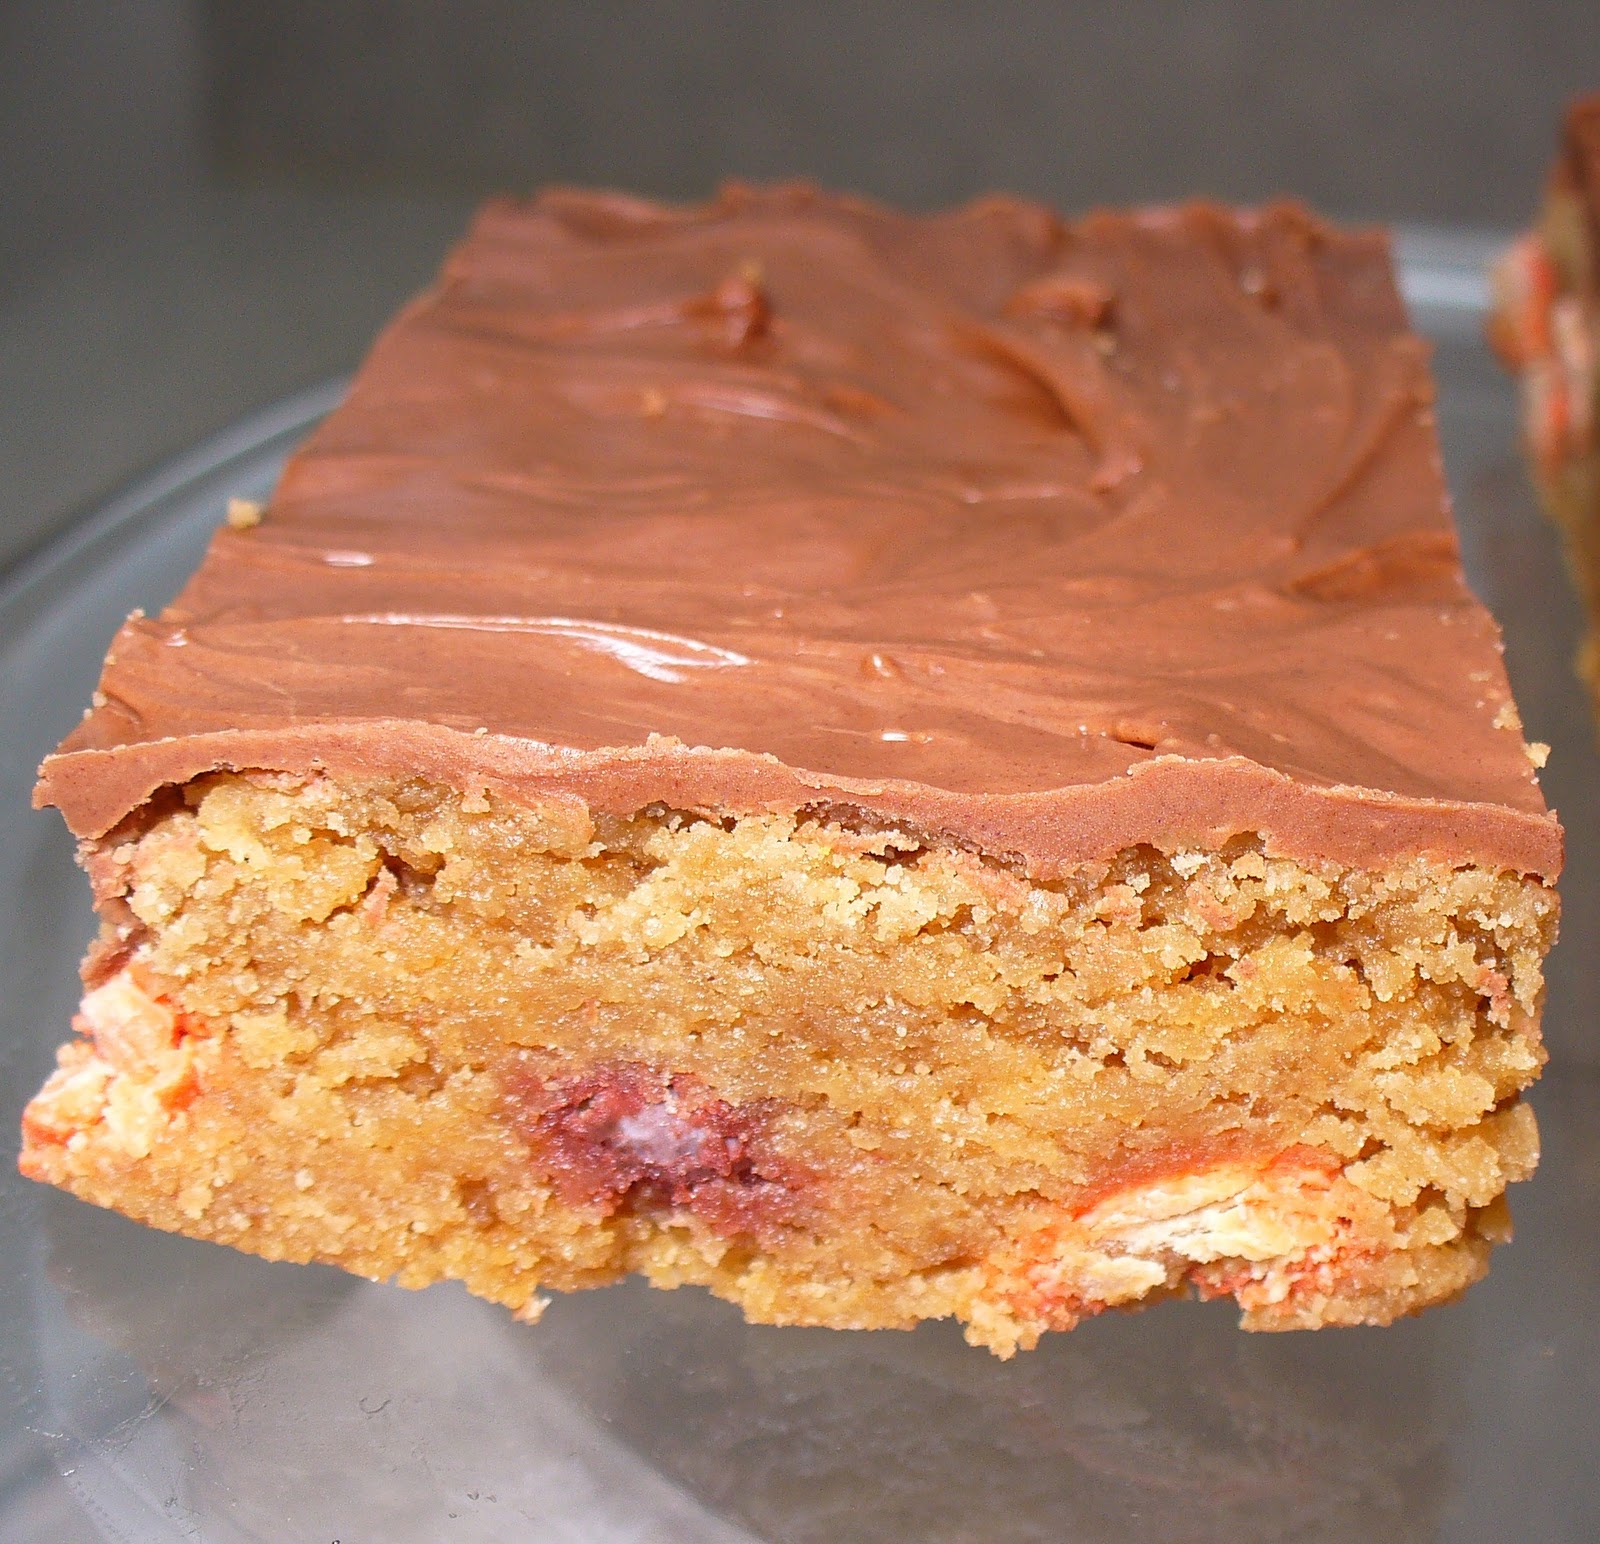
Brown Eyed Baker (check out her blog, it is seriously awesome!) that I made for my sister's husband's birthday this past weekend. I think that this cheesecake is by far the most decadant and rich dessert that I have ever made, yeah it is. It is full of layers upon layers of chocolate and peanut butter and more chocolate and peanut butter. What's not to love? You start with an Oreo cookie crust, then top it with a chocolate fudge, then top that with chopped peanut butter cups. Next comes the creamy peanut butter cheesecake, and then as if all of that isn't enough......it gets topped with a smooth chocolate ganache and an amazing peanut butter frosting and some more peanut butter cups if your little baking heart desires, and mine did! There are so many layers and levels of textures in this dessert; crunchy, smooth, creamy, cool and soft. This is a dessert for pure indulgence, pure decadance, it is amazing, heaven. Enjoy!
Peanut Butter-Fudge Cheesecake: (From Brown Eyed Baker)
For the Crust:
-32 Oreo cookies, finely crushed or ground in a food processor
-5 1/2 tablespoons unsalted butter, melted
-Pinch of salt
For the Fudge:
-8 ounces bittersweet chocolate, finely chopped
-1/2 cup heavy cream
-1 teaspoon vanilla extract
-20 miniature peanut butter cup candies, unwrapped and roughly chopped
For the Cheesecake:
-24 ounces cream cheese, at room temperature
-1 cup creamy peanut butter
-1 cup granulated sugar
-1 teaspoon vanilla extract
-4 eggs
For the Ganache Topping:
-4 ounces bittersweet chocolate, finely chopped
-1/2 cup heavy cream
1. Preheat the oven to 325 degrees F. Butter a 9-inch springform pan and set aside.
2. To make the crust, stir the Oreo crumbs, melted butter and salt in a small bowl with a fork until the crumbs are moistened. Press the crumbs evenly over the bottom and up the sides of the springform pan. Freeze the crust for 10 minutes.
3. Bake the crust for 10 minutes, then transfer it to a rack and let cool.
4. To make the fudge, put the chopped chocolate in a bowl. Heat the cream to a simmer over medium heat. Immediately pour the simmering cream over the chopped chocolate. Let stand for 1-2 minutes, then add the vanilla and stir with a whisk until smooth and combined. Pour the fudge into the cooled crust and spread evenly over the bottom. Place in freezer for 10 minutes. Remove from freezer and sprinkle surface with the chopped peanut butter cups. Return to freezer for 10 more minutes.
5. Meanwhile, prepare the cheesecake filling. Beat the cream cheese and peanut butter together on medium speed until smooth. Add the sugar and vanilla extract and continue to beat on medium speed until thoroughly combined. Reduce the speed to low and add the eggs one at a time, beating until combined after each addition. Scrape the bowl and mix on low for another 20 seconds.
6. Remove the pan from the freezer and pour the cheesecake filling over the fudge and peanut butter cups. Bake until the sides of the cheesecake are set and the middle just slightly jiggles, about 1 hour (mine took closer to 1 hour and 30 minutes, and I covered it with foil to prevent browning). Transfer to a wire cooling rack and cool to room temperature (at least 1 hour). Refrigerate the cheesecake at least 4 hours or overnight until thoroughly chilled. Carefully remove the sides from the springform pan.
7. Before serving, prepare the ganache topping. Place the chopped chocolate in a small bowl. Bring the heavy cream to a simmer over medium heat. Immediately pour the simmering cream over the chopped chocolate. Let sit for 1-2 minutes and then stir with a whisk until smooth. Pour the ganache on the top of the cheesecake and, using an offset spatula, spread evenly over top of the cheesecake. Return to the refrigerator to set the ganache, about 20 minutes. Garnish as desired (I used a basic buttercream frosting and added peanut butter to it to pipe around the edges and added a peanut butter cup to the middle, just as Brown Eyed Baker did).